
Use this tool for estimated times for exposing cyanotypes in the sun
Read More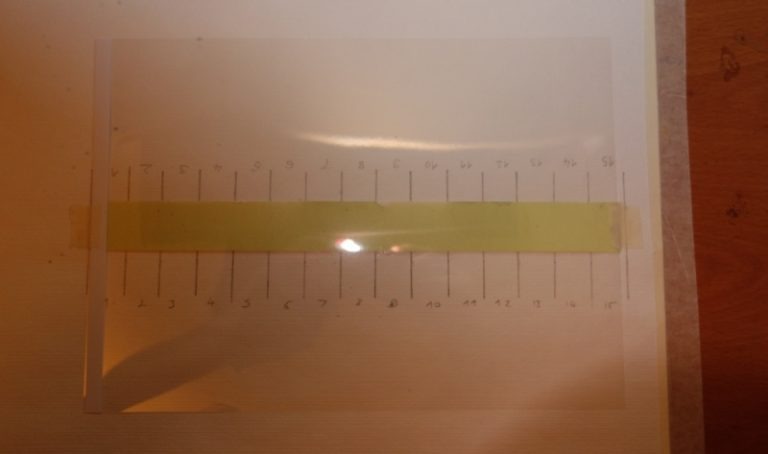
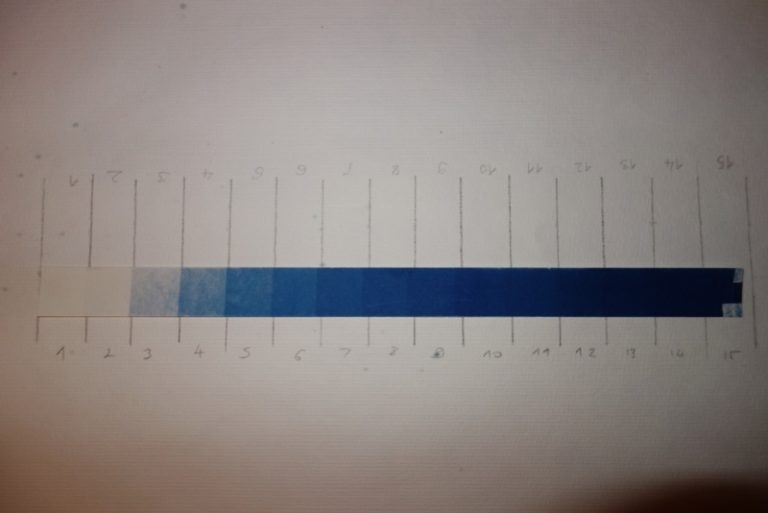

How to achieve darker blues
Tutorial on how to achieve a darker blue in your cyanotypes
Read More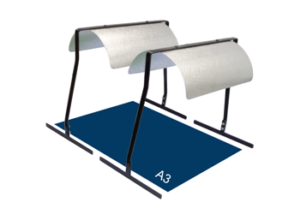
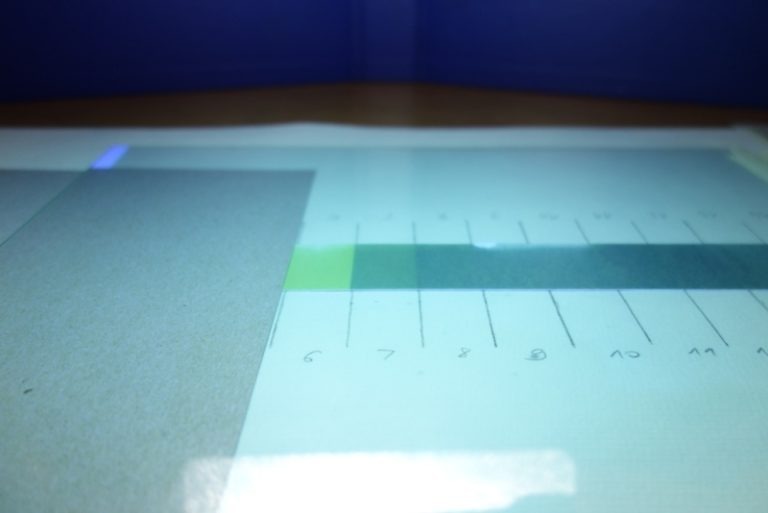
A3 Exposure
How to expose an A3 size print with two of our UV Lamps
Read More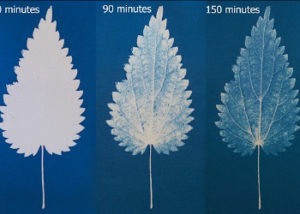
Leaf detail
Tutorial on how to achieve more detail in your final print
Read More